Python Flask 結合 Heroku 部署Https的伺服器
使用Python的Flask結合Heroku建置一個Https伺服器
透過Heroku結合Flask, 來架設一個簡單的伺服器, 與下一篇的Line ChatBot做結合 有興趣的可以參考 - 透過Python架設Line Chatbot
介紹
Heroku是一個支援多種程式語言的雲平台即服務。
他的想法就是將程式碼推播上去,
那邊的伺服器就會幫你處理好一切,
這時候就會給一個https的網址。
你的其他應用都可以呼叫這網址做一些事情,
如API, Webhook等等。
流程說明
1.註冊帳號
2.下載
3.執行範例,可瞭解到
- heroku 架設
- Procfile
- pipenv
4.更改為自己的flask啟動
註冊帳號
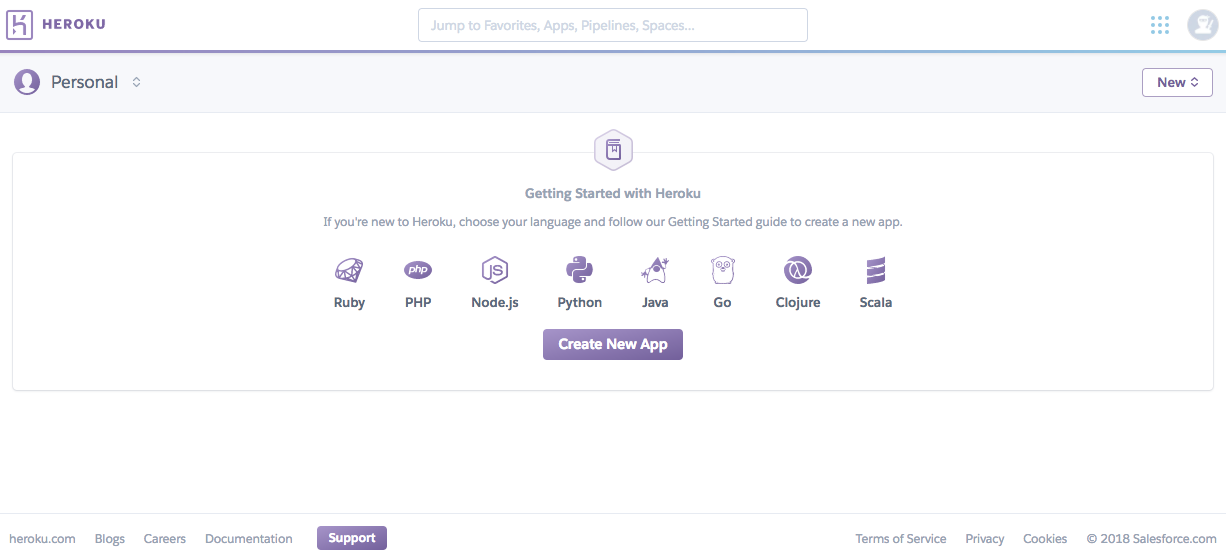
首先我們先進入Heroku,
然後點選 Sign Up For Free
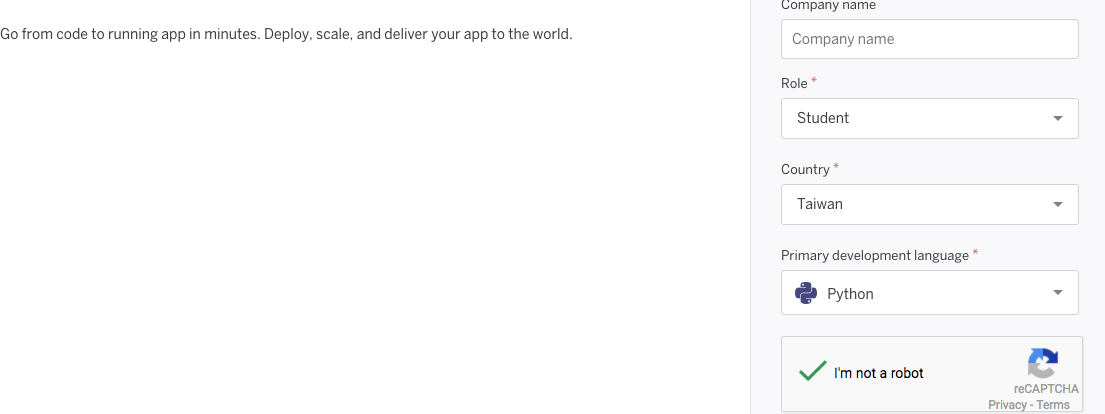
之後註冊一些資訊
主要是language要選擇 ** Python **
那接下來去信箱收驗證信
然後會跳轉到設定密碼
Minimum 8 characters: Letters, numbers, and/or symbols
這密碼也太麻煩。。。
然後我開始參考下面官方文檔連結來做安裝
https://devcenter.heroku.com/articles/getting-started-with-python#introduction
下載
到下面的網頁 https://devcenter.heroku.com/articles/getting-started-with-python#set-up
點擊此Download the Heroku CLI下載
選擇你的作業系統進行安裝
如果沒有git的話,記得在安裝的時候點擊git的選項安裝 {.leading}
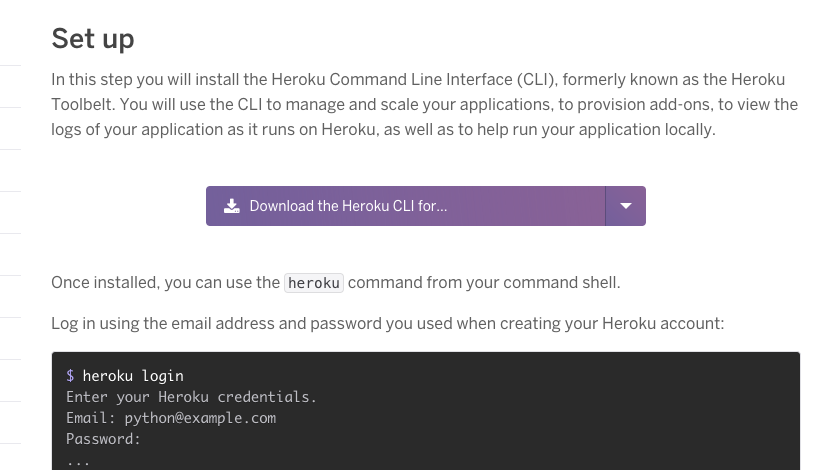
之後我們就可以使用command呼叫heroku的指令
執行範例
按照官方文檔是建議使用他們已經有的example
我們再加以更改會比較簡單
實際做法是用command呼叫這2行
git clone https://github.com/heroku/python-getting-started.git
cd python-getting-started
遠端創建一個虛擬機器
heroku create
第一次可能需要輸入帳號密碼
之後就會跳出下列視窗說 完成~
會出現類似下面這段字樣
https://git.heroku.com/calm-dawn-52508.git
而後面的 calm-dawn-52508
就是主機名稱
那我們先把目前範例的程式碼推播上去看看
git push heroku master
成功會長的像下面這樣
接下來我們呼叫下面這個指令
heroku ps:scale web=1
下面這行會開啟網站
heroku open
完成 example範例!!! <!– 那照著教學走 他會說下一步我們看log
我也是黑人問號?????
不過教程這樣寫 我們照做吧
heroku logs –tail
–>
Procfile -設定/切換python的專案
Use a Procfile, a text file in the root directory of your application, to explicitly declare what command should be executed to start your app. The Procfile in the example app you deployed looks like this:
這意思就是吼,這邊是設定開啟的root資料夾
簡單來說剛剛我們抓下來的資料夾是 python-getting-started
那裡面還有幾個資料夾
- gettingstarted
- hello
這邊可以設定要開啟哪個資料夾,下面這樣就是說我開啟的如gettingstarted資料夾
web: gunicorn gettingstarted.wsgi –log-file -
Pipfile - 安裝專案上的library
管理套件dependency的檔案叫 Pipfile
雖然有提到requirements.txt不過教程沒有說明如何在heroku使用
那我們就跳過
那因為我們都要先在本機測試,之後再推播上網路,
他是建議我們也要在本機先安裝好該相關套件。
那我們要使用pipenv這套件,需要先透過pip安裝
pip install pipenv
下面指令是說在當前目錄創建python3的環境。
pipenv –three
如果出現下面的error message
Warning: Your Pipfile requires python_version 3.6, but you are using None (/bin/python).
或許是因為你用anaconda,總之呢改成用conda install的方式安裝
pip uninstall virtualenv
conda install virtualenv
安裝Pipfile.lock套件
pipenv install
如果![#f03c15] pipenv install失敗
pipenv update
啟動環境!!
pipenv shell
安裝需要的package
pipenv install requests
就可以在.py檔案中使用
import requests
首次在本地端開啟Server
如果是要跑Django的話,如果不清楚的話都跑。
python manage.py collectstatic
如果使用Windows
heroku local web -f Procfile.windows
如果使用Unix
heroku local web
這樣server就在本地端架起來了
那接下來可以透過瀏覽器輸入
http://0.0.0.0:5000
看看是否有成功架設
成功圖如下

更換成我們自己的server
那在 Procfile 部分
我們有提到可以切換自己的專案,
目前的專案底下有2個專案,
- gettingstarted
- hello
那我們要自己再新建一個Flask的專案
我們可以先用簡單版的,創建一個.py檔案
檔名叫quick_flask.py好了
那裡面的內容打這樣
from flask import Flask

app = Flask(__name__)

@app.route('/')
def hello_world():
  return 'Hello, World!'

@app.route('/test')
  def test_page():
    return 'In test page!'
之後修改procfile的檔案將它改成下面這樣
web: gunicorn quick_flask:app
之後一樣透過指令開啟
heroku local web
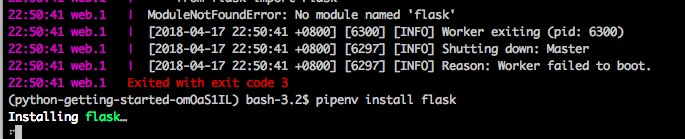
如果出現問題,詳細請至上面安裝package方式
安裝flask
簡單來說 輸入下面這行安裝
pipenv install flask
那接下來可以透過瀏覽器輸入
http://0.0.0.0:5000
看到結果
之後如果要開local端的Server
需要呼叫的指令
pipenv shell
heroku local web
如果要更新網路上的server
推播上去之前 記得測試一下是不是正常的
heroku local
要使用git更新
git add .
git commit -m “本次更新註解”
git push heroku master
heroku open
如果照著上面範例的話
成功圖如下
有https的網址喔~~~

其他指令
可以開啟heroku的測試環境的交互式命令視窗,可用來檢查是否正確install library
heroku run python manage.py shell
可以看到目前機器狀況
heroku ps
遠端關機
heroku ps:scale web=0
遠端開機
heroku ps:scale web=1
設定可以push到自己的container((如果之前做過heroku create的話 可以無視這個
heroku git:remote -a
查看所有可以遠端路徑
gite remote -v
注意事項
By default, your app is deployed on a free dyno. Free dynos will sleep after a half hour of inactivity (if they don’t receive any traffic). This causes a delay of a few seconds for the first request upon waking.